I am a summer baby, maybe that’s why I am not such a huge fan of the winters. But even my all encompassing dislike for the season cannot keep me from going bonkers over the veritable feast of vegetables and fruits it brings. Especially the lovely leafy greens… so much greener, fresher and bursting with flavors. And from amongst them all, spinach is the closest to my heart. I absolutely adore it.
So dinner yesterday was a family favorite and lovely combination of two of my favorites, spinach / palak and cottage cheese /paneer in a paratha!! Yep Palak-Paneer Paratha!! Absolutely simple, quick to make and delicious to boot. You have just got to try it!!!

What goes into it
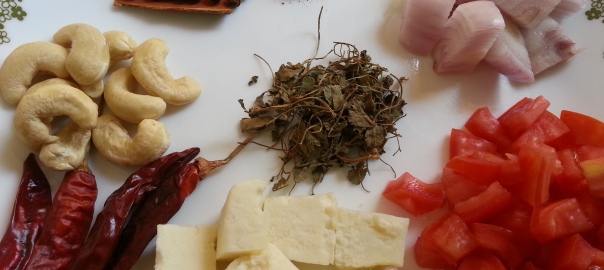
100 gms of spinach
A few sprigs of mint leaves
2 cups of whole wheat flour
200 gms of paneer
1 onion
1 green chilli
4-5 cloves of garlic
2 tbsp of oil + more the roast the parathas
Salt to taste
Water

How to go about it
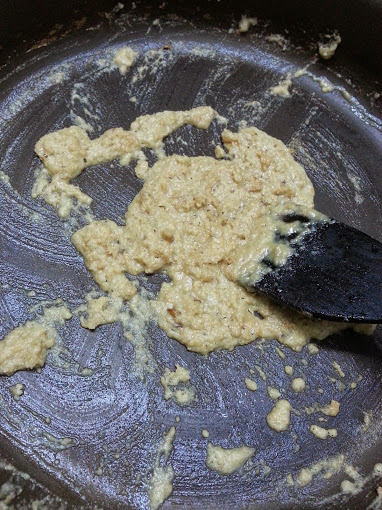
Grind to a fine paste, the spinach and the mint leaves. Use as little water as possible to grind. Take the paste out into a mixing bowl. In the grinder jar add a cup of water and reserve the water. Add flour and salt to taste to the paste and knead into a medium soft dough. Use the reserved water if and as needed. Use the oil to make a smooth crack free dough bowl. Cover and leave to stand while you assemble the stuffing.
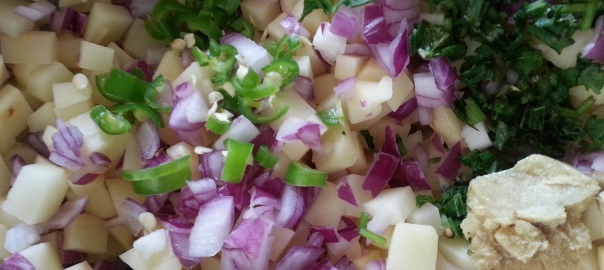
Dice the onions and paneer into large cubes, slit the chilli and run it through the food processor. You want a crumbly consistency, so a couple of whizzes should do it. Season with salt and keep aside.
Place the girdle on heat to preheat it. Break a piece of dough and roll it into a chapati / round disc. Spoon a couple of spoons of the paneer mix into the centre of the chapati and fold it over enclosing it in, from all sides. Dust with flour and turn over. Gently flatten with a rolling pin, creating a thick paratha.

The girdle should be hot enough by now. Place the paratha sealed side down and let it cook on medium flame for about a minute or so. Run a metal spoon with about a tsp of oil or ghee around the perimeter of the paratha. The paratha will sizzle and begin to puff. Cook for about 10 seconds and flip. Cook till it puffs completely, about a minute at most. Even if it doesn’t puff, a liberal splattering of golden brown spots indicates doneness. Take off the heat, repeat process till you run out of stuffing.

Serve cut into quaters with bowls full of thick home made curd.